-
Solo Business Courses
-
 Others
-
Overseas Tutorials
-
Photography & Editing
-
Community & Private Domain
-
Self-Media Writing & Copywriting
-
Side Income Projects
-
E-commerce
-
Short Video & Live Streaming
-
Artificial Intelligence (AI)
-
Software & Tools
-
Operating Systems
-
Plugins & Scripts
-
MacOS Software
-
Android Software
-
Windows Software
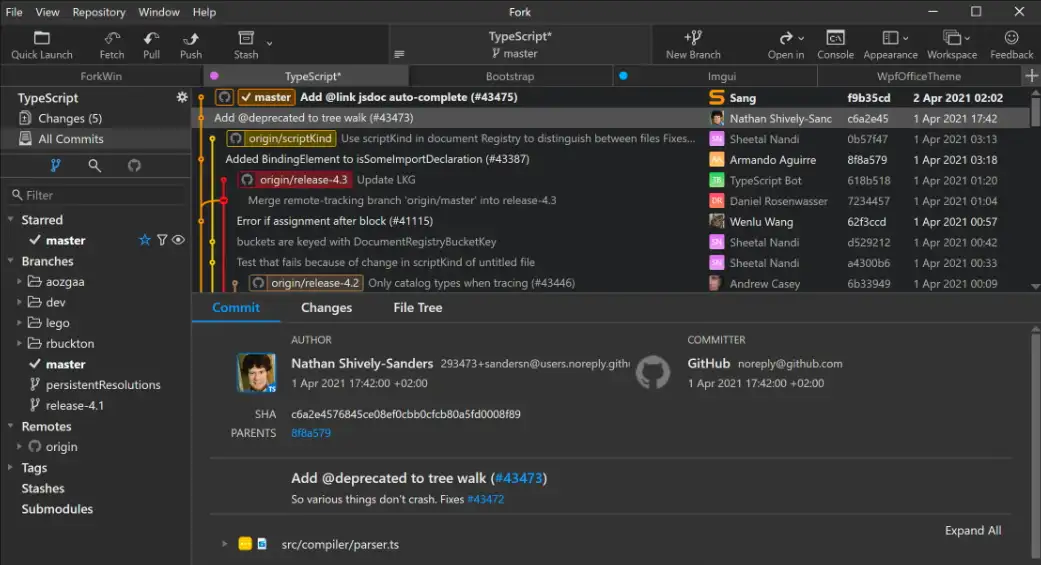
GitClient Fork Win2.12.2 / Mac2.5.7
-
Game Gold-Farming Money-Making Plan: Earn 1k+ Daily, a Stable 3-Year Project Anyone Can Do in Spare Time [Revealed]
Study material — included with membership Get Membership -
Hot-game fully-automated earning: 500+ a day, no experience, simple operation - the steadiest long-term game-earning side hustle (revealed)
Study material — included with membership Get Membership -
FlyingMouse earns merit this time! Don't panic at Windows format problems — the open-source FlyingMouse format conversion tool helps, a popular GitHub gem
Study material — included with membership Get Membership -
Douyin Product-Selling Coaching Bootcamp: No On-Camera Appearance Needed, Newbies Can Produce Selling Short Videos by Following the Steps
Study material — included with membership Get Membership -
First-release game gold-farming money plan: 1K+ a day, ordinary people in spare time
Study material — included with membership Get Membership






-
FlyingMouse earns merit this time! Don't panic at Windows format problems — the open-source FlyingMouse format conversion tool helps, a popular GitHub gem
Study material — included with membership Get Membership -
LuDaShi v6.1024.4105.1121 Slim Single File
Study material — included with membership Get Membership -
2D Cartoon Animation Software Moho Pro v14.3
Study material — included with membership Get Membership -
Video Editor Aiseesoft Filmai v1.0.18
Study material — included with membership Get Membership -
To-Do Microsoft To Do v2.147 Free
Study material — included with membership Get Membership -
PR/AE/DaVinci/FCPX video Plugin Nobe OmniScope Win1.11.15 / Mac1.10.138
Study material — included with membership Get Membership


Fork is a powerful/easy Git client; for devs/teams, helping them efficiently manage code/version control. Whether solo or team, Fork provides convenient features, improving code-mgmt efficiency.
\Clear visual UI
\Fork provides an intuitive/easy UI, making Git repo operations friendlier. You easily manage branches/commits/other Git features via graphical UI, reducing CLI complexity.
\Efficient branch management
\With Fork, quickly create/switch/merge/delete branches. Graphical UI clearly shows branch relationships/history, efficient branch mgmt.
\
Precise commit management
\Fork lets you view/compare different commits. Not only quickly switch to any commit, but also restore prior state, ensure efficient version mgmt anytime.
\Powerful conflict resolution
\When conflicts arise, Fork offers powerful conflict resolution, quickly merge/solve. Smoother/seamless teamwork.
\Easily manage remote repos
\Fork supports remote repo mgmt. You easily add/clone/push/pull remote repos, and view remote commit history/branches. Whether personal project or team collab, easily handled.
\Code-review support
\Fork supports code review workflow, easily review/provide feedback/comments/suggestions. Improves code quality, promotes team collab.
\Team collaboration & management
\Via Fork, you can invite team members to collaborate on projects. Git Fork lets you easily manage/view team members' commits/branches, improves team collab efficiency.
\Intuitive code history
\Fork provides visual history viewing: commits/branch info/tags etc., lets you know code change process anytime, ensures project transparency/traceability.
\Steps
\- \
- Install the software, open it for the first time, then close it. \
- Right-click and run as administrator, then click Generate to activate. \
Related Courses
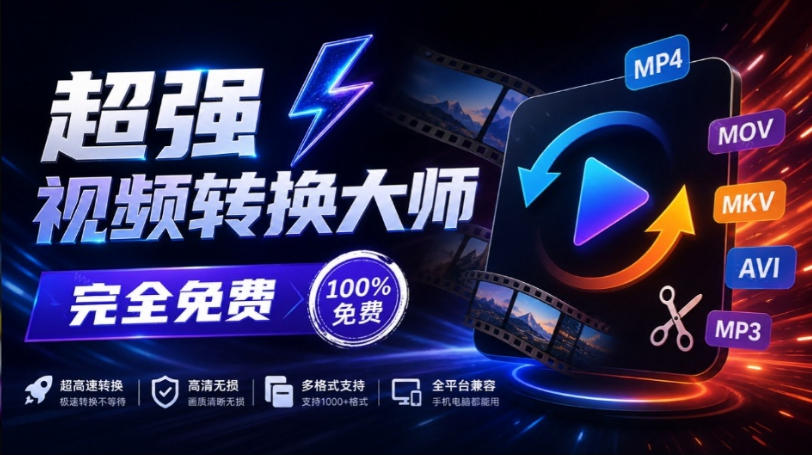
Super local toolbox! Built-in screen recording, audio/video cutting & merging, video compression & extraction, forever free - Kedou Video Converter
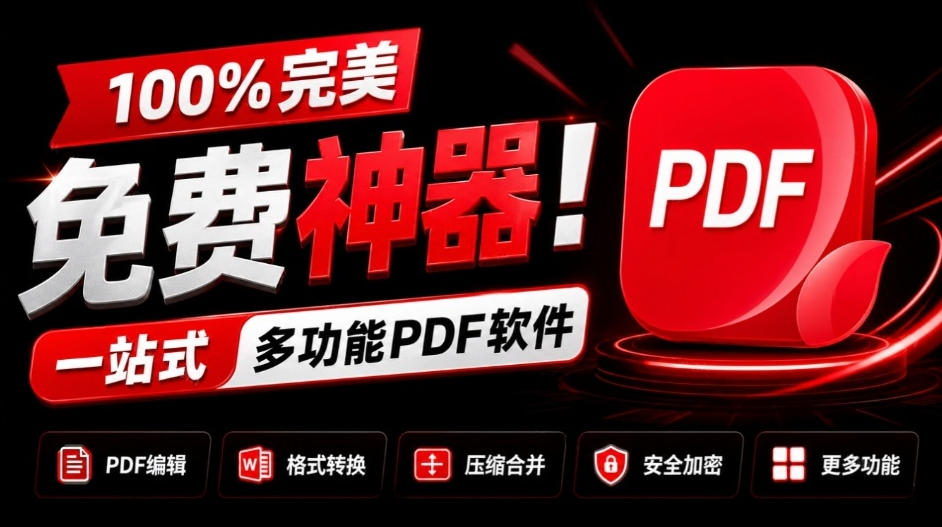
100% perfect free tool! One-stop multi-function PDF software: PDF convert, compress, edit etc., minimal, no ads, so nice - JOPDF

Open-Source Desktop Remote Tool, Beats Paid Versions! Free for Personal and Commercial Use Unlimited, Cross-Platform, HopToDesk Remote Control

Latest K-12 Textbook Downloader: Whole-Grade Resource Download, Courseware, Video, Audio in One Click

HuyanBao: free blue-light eye-care app with pet break reminders
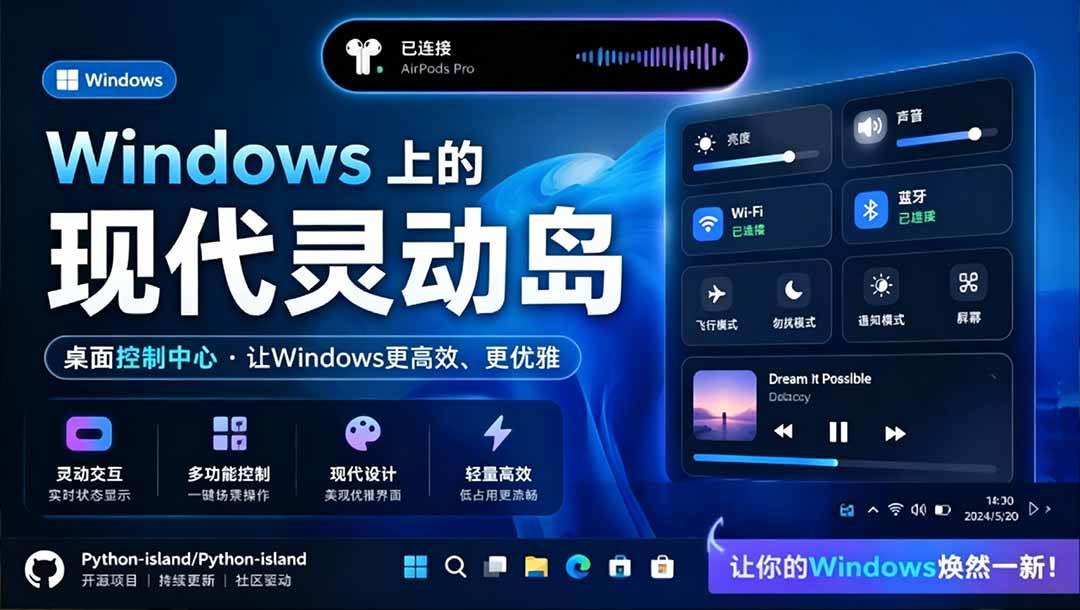
Windows Can Have a Desktop Dynamic Island Too! A Modern System Control Center — Give Your PC a Black Notch, PyIsland

3D Simulated Comic Drama Production: Seedance2.0 Full-Process Practical Course - From Zero to One High-Quality Comic Drama Creation

Win/Mac Dual Support! Latest Permanent Lifetime Version, Supports Old Photo Restoration, Image Sharpening and Lossless Upscaling Tool, Aiarty Image Enhancer

Online Video Course: Github Open-Source Bilibili Video Download Tool! Supports 8K and Dolby Vision Bilibili Video Batch Download Tool, Easy to Use Bilidown