-
Solo Business Courses
-
 Others
-
Overseas Tutorials
-
Photography & Editing
-
Community & Private Domain
-
Self-Media Writing & Copywriting
-
Side Income Projects
-
E-commerce
-
Short Video & Live Streaming
-
Artificial Intelligence (AI)
-
Software & Tools
-
Operating Systems
-
Plugins & Scripts
-
MacOS Software
-
Android Software
-
Windows Software
LiYing 20240803 v1 — Auto ID-Photo Processor (Open Source)
-
Game Gold-Farming Money-Making Plan: Earn 1k+ Daily, a Stable 3-Year Project Anyone Can Do in Spare Time [Revealed]
Study material — included with membership Get Membership -
Hot-game fully-automated earning: 500+ a day, no experience, simple operation - the steadiest long-term game-earning side hustle (revealed)
Study material — included with membership Get Membership -
FlyingMouse earns merit this time! Don't panic at Windows format problems — the open-source FlyingMouse format conversion tool helps, a popular GitHub gem
Study material — included with membership Get Membership -
Douyin Product-Selling Coaching Bootcamp: No On-Camera Appearance Needed, Newbies Can Produce Selling Short Videos by Following the Steps
Study material — included with membership Get Membership -
First-release game gold-farming money plan: 1K+ a day, ordinary people in spare time
Study material — included with membership Get Membership






-
FlyingMouse earns merit this time! Don't panic at Windows format problems — the open-source FlyingMouse format conversion tool helps, a popular GitHub gem
Study material — included with membership Get Membership -
LuDaShi v6.1024.4105.1121 Slim Single File
Study material — included with membership Get Membership -
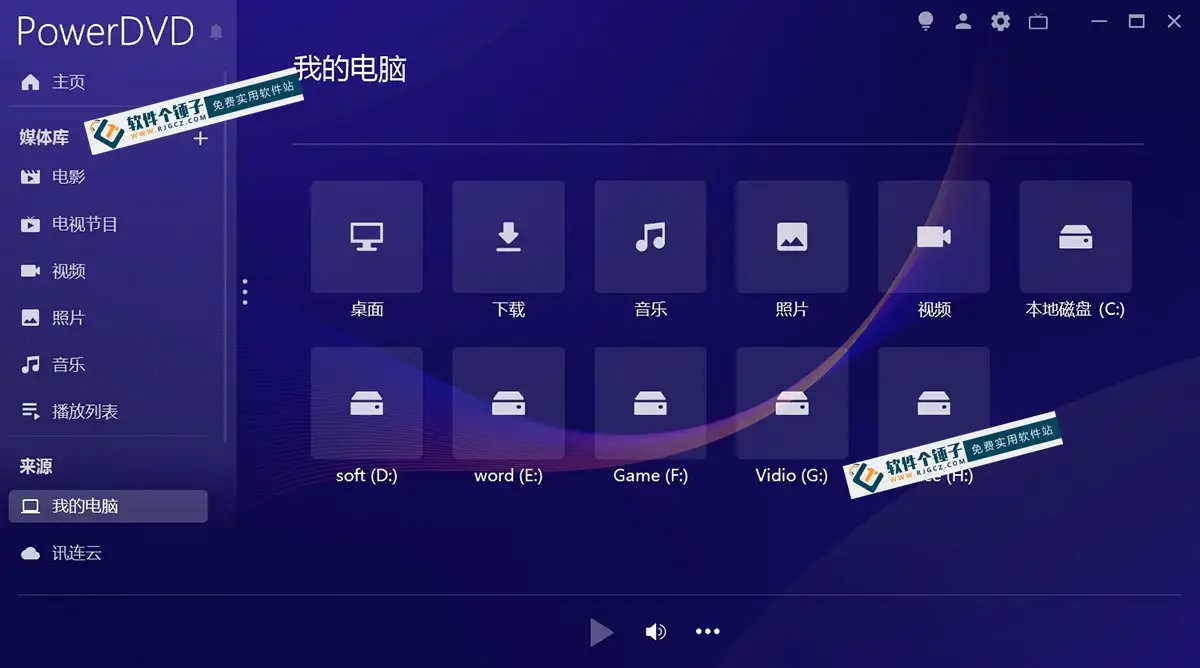
2D Cartoon Animation Software Moho Pro v14.3
Study material — included with membership Get Membership -
Video Editor Aiseesoft Filmai v1.0.18
Study material — included with membership Get Membership -
To-Do Microsoft To Do v2.147 Free
Study material — included with membership Get Membership -
PR/AE/DaVinci/FCPX video Plugin Nobe OmniScope Win1.11.15 / Mac1.10.138
Study material — included with membership Get Membership


1. About LiYing
\LiYing auto-detects bodies and faces, auto-rotates angles, swaps any background color, crops ID photos to any size, and auto-lays out print sheets.
\LiYing runs fully offline — all image processing is local.
\2. Workflow
\Workflow
\
Results
\
Note: this project is tuned for ID-photo processing — not for arbitrary photos. Inputs should be conventional single-person portraits.
\Unexpected results on complex images are expected.
\3. Usage
\01. Bundle
\If you’re on Windows and don’t need to read the code, grab the bundle (tested on Windows 7 SP1 & Windows 10). Unzip, drag an image or folder onto run.bat to launch.
\This is a bundled Windows package for Windows 7 SP1 and above.
\02. Setup & install
\Install and configure per the steps below to run LiYing locally.
\Prerequisites
\LiYing depends on AGPicCompress, which needs mozjpeg and pngquant.
\You may need to install pngquant manually — see the pngquant docs and drop it in the right place.
\LiYing looks for pngquant in these locations (configurable):
\- \
- PATH (recommended) \
- LiYing/src \
- LiYing/src/ext \
so AGPicCompress can find and use it for PNG compression.
\Microsoft Visual C++ Redistributable
\Install the latest VC++ Redistributable. On Windows, minimum is Windows 7 SP1.
\For Windows users, the project ships a helper batch:
\\
cd LiYing\
run.bat ./images/test1.jpg\
CLI options
\\
python main.py --help\
Usage: main.py [OPTIONS] IMG_PATH\
\
Image-processing CLI\
\
IMG_PATH: input image path\
\
Options:\
-y, --yolov8-model-path PATH YOLOv8 model path\
-u, --yunet-model-path PATH YuNet model path\
-r, --rmbg-model-path PATH RMBG model path\
-b, --bgr-list BGR_LIST BGR channel values (comma-separated) for compositing\
-s, --save-path PATH output path\
-p, --photo-type TEXT photo type\
--photo-sheet-size [5|6] sheet size (5-inch or 6-inch)\
-c, --compress / --no-compress compress image\
-sc, --save-corrected / --no-save-corrected save the corrected image\
-bg, --change-background / --no-change-background replace background\
-sb, --save-background / --no-save-background save the background-swapped image\
-sr, --sheet-rows INTEGER sheet rows\
-sc, --sheet-cols INTEGER sheet columns\
--rotate / --no-rotate rotate photo 90°\
-rs, --resize / --no-resize resize image\
-srz, --save-resized / --no-save-resized save resized image\
--help show this message and exit.\
Other config
\This build ships standard ID-photo presets in data/data.ini — use them via --photo-type.
\You can also edit the config file to define your own types, format:
\\
[XXX]\
print-size = XXXcm x XXXcm\
electronic-size = XXXpx x XXXpx\
dpi = XXXdpi\
The section name [XXX] and electronic-size are required. The section name is your --photo-type value.
\Currently the size key only supports the literal key electronic-size; this will be improved in later builds.
Related Courses
Super local toolbox! Built-in screen recording, audio/video cutting & merging, video compression & extraction, forever free - Kedou Video Converter
100% perfect free tool! One-stop multi-function PDF software: PDF convert, compress, edit etc., minimal, no ads, so nice - JOPDF

Open-Source Desktop Remote Tool, Beats Paid Versions! Free for Personal and Commercial Use Unlimited, Cross-Platform, HopToDesk Remote Control

Latest K-12 Textbook Downloader: Whole-Grade Resource Download, Courseware, Video, Audio in One Click

HuyanBao: free blue-light eye-care app with pet break reminders

Windows Can Have a Desktop Dynamic Island Too! A Modern System Control Center — Give Your PC a Black Notch, PyIsland
3D Simulated Comic Drama Production: Seedance2.0 Full-Process Practical Course - From Zero to One High-Quality Comic Drama Creation

Win/Mac Dual Support! Latest Permanent Lifetime Version, Supports Old Photo Restoration, Image Sharpening and Lossless Upscaling Tool, Aiarty Image Enhancer

Online Video Course: Github Open-Source Bilibili Video Download Tool! Supports 8K and Dolby Vision Bilibili Video Batch Download Tool, Easy to Use Bilidown