-
Solo Business Courses
-
 Others
-
Overseas Tutorials
-
Photography & Editing
-
Community & Private Domain
-
Self-Media Writing & Copywriting
-
Side Income Projects
-
E-commerce
-
Short Video & Live Streaming
-
Artificial Intelligence (AI)
-
Software & Tools
-
Operating Systems
-
Plugins & Scripts
-
MacOS Software
-
Android Software
-
Windows Software
Illustrated Tutorial: Slimming and Removing Windows 10 Components with MSMG Toolkit
-
Game Gold-Farming Money-Making Plan: Earn 1k+ Daily, a Stable 3-Year Project Anyone Can Do in Spare Time [Revealed]
Study material — included with membership Get Membership -
Hot-game fully-automated earning: 500+ a day, no experience, simple operation - the steadiest long-term game-earning side hustle (revealed)
Study material — included with membership Get Membership -
FlyingMouse earns merit this time! Don't panic at Windows format problems — the open-source FlyingMouse format conversion tool helps, a popular GitHub gem
Study material — included with membership Get Membership -
Douyin Product-Selling Coaching Bootcamp: No On-Camera Appearance Needed, Newbies Can Produce Selling Short Videos by Following the Steps
Study material — included with membership Get Membership -
First-release game gold-farming money plan: 1K+ a day, ordinary people in spare time
Study material — included with membership Get Membership






-
FlyingMouse earns merit this time! Don't panic at Windows format problems — the open-source FlyingMouse format conversion tool helps, a popular GitHub gem
Study material — included with membership Get Membership -
LuDaShi v6.1024.4105.1121 Slim Single File
Study material — included with membership Get Membership -
2D Cartoon Animation Software Moho Pro v14.3
Study material — included with membership Get Membership -
Video Editor Aiseesoft Filmai v1.0.18
Study material — included with membership Get Membership -
To-Do Microsoft To Do v2.147 Free
Study material — included with membership Get Membership -
PR/AE/DaVinci/FCPX video Plugin Nobe OmniScope Win1.11.15 / Mac1.10.138
Study material — included with membership Get Membership

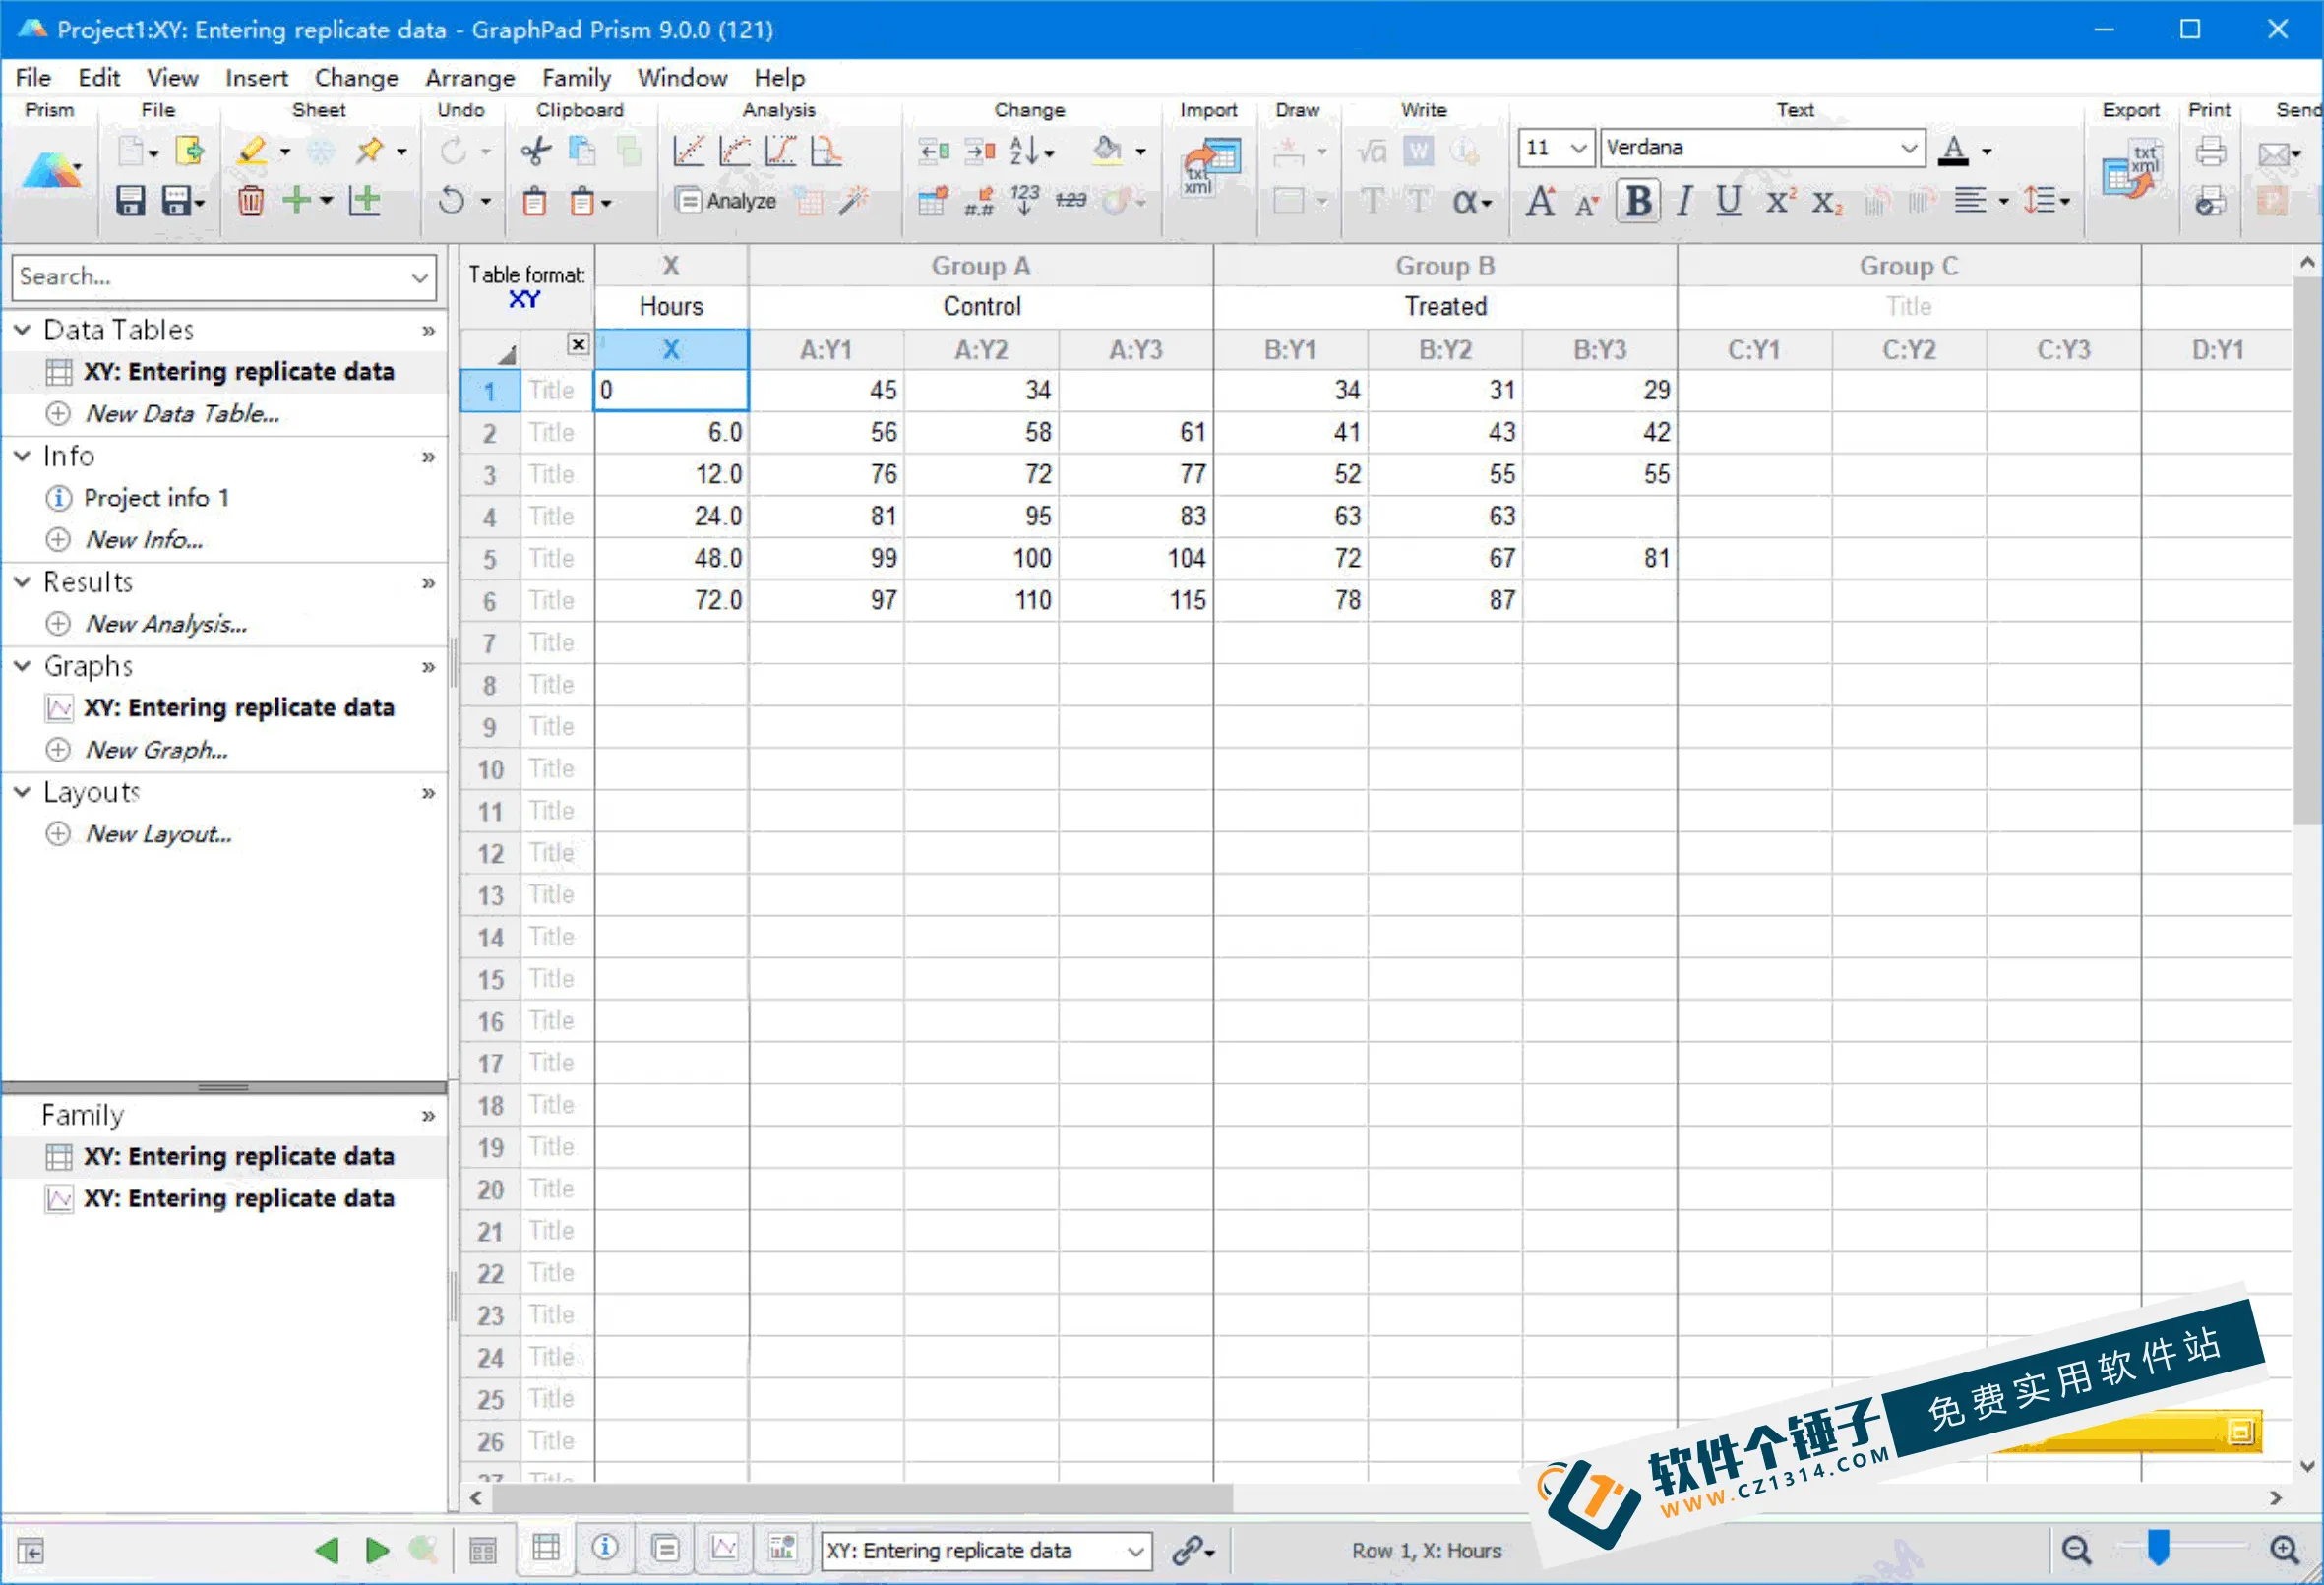
MSMG Toolkit is a very powerful Windows image slimming tool dedicated to optimizing Windows systems. It works by calling Microsoft's built-in Dism commands — essentially providing a graphical user interface for Dism.
It can slim system components from Windows 7 through Windows 10 and various server editions, making it the tool of choice for system-packaging experts. Unlike NTLite's simpler but potentially risky brute-force deletion, MSMG Toolkit offers a safer, bug-free slimming method. It is more difficult to operate, but its advantage is that system stability is preserved.
Now let's walk through exactly how to use MSMG Toolkit to slim down and remove components from a Windows 10 system image. This tutorial basically applies to every version from Windows 7 SP1 up to the latest Windows Server releases.
In principle this tutorial applies to Windows 7 with SP1 / Windows 8.1 / Windows 10 / Windows 11 / Server 2008 R2 / Server 2012 R2 / Server 2016 R2 DVD/ISO
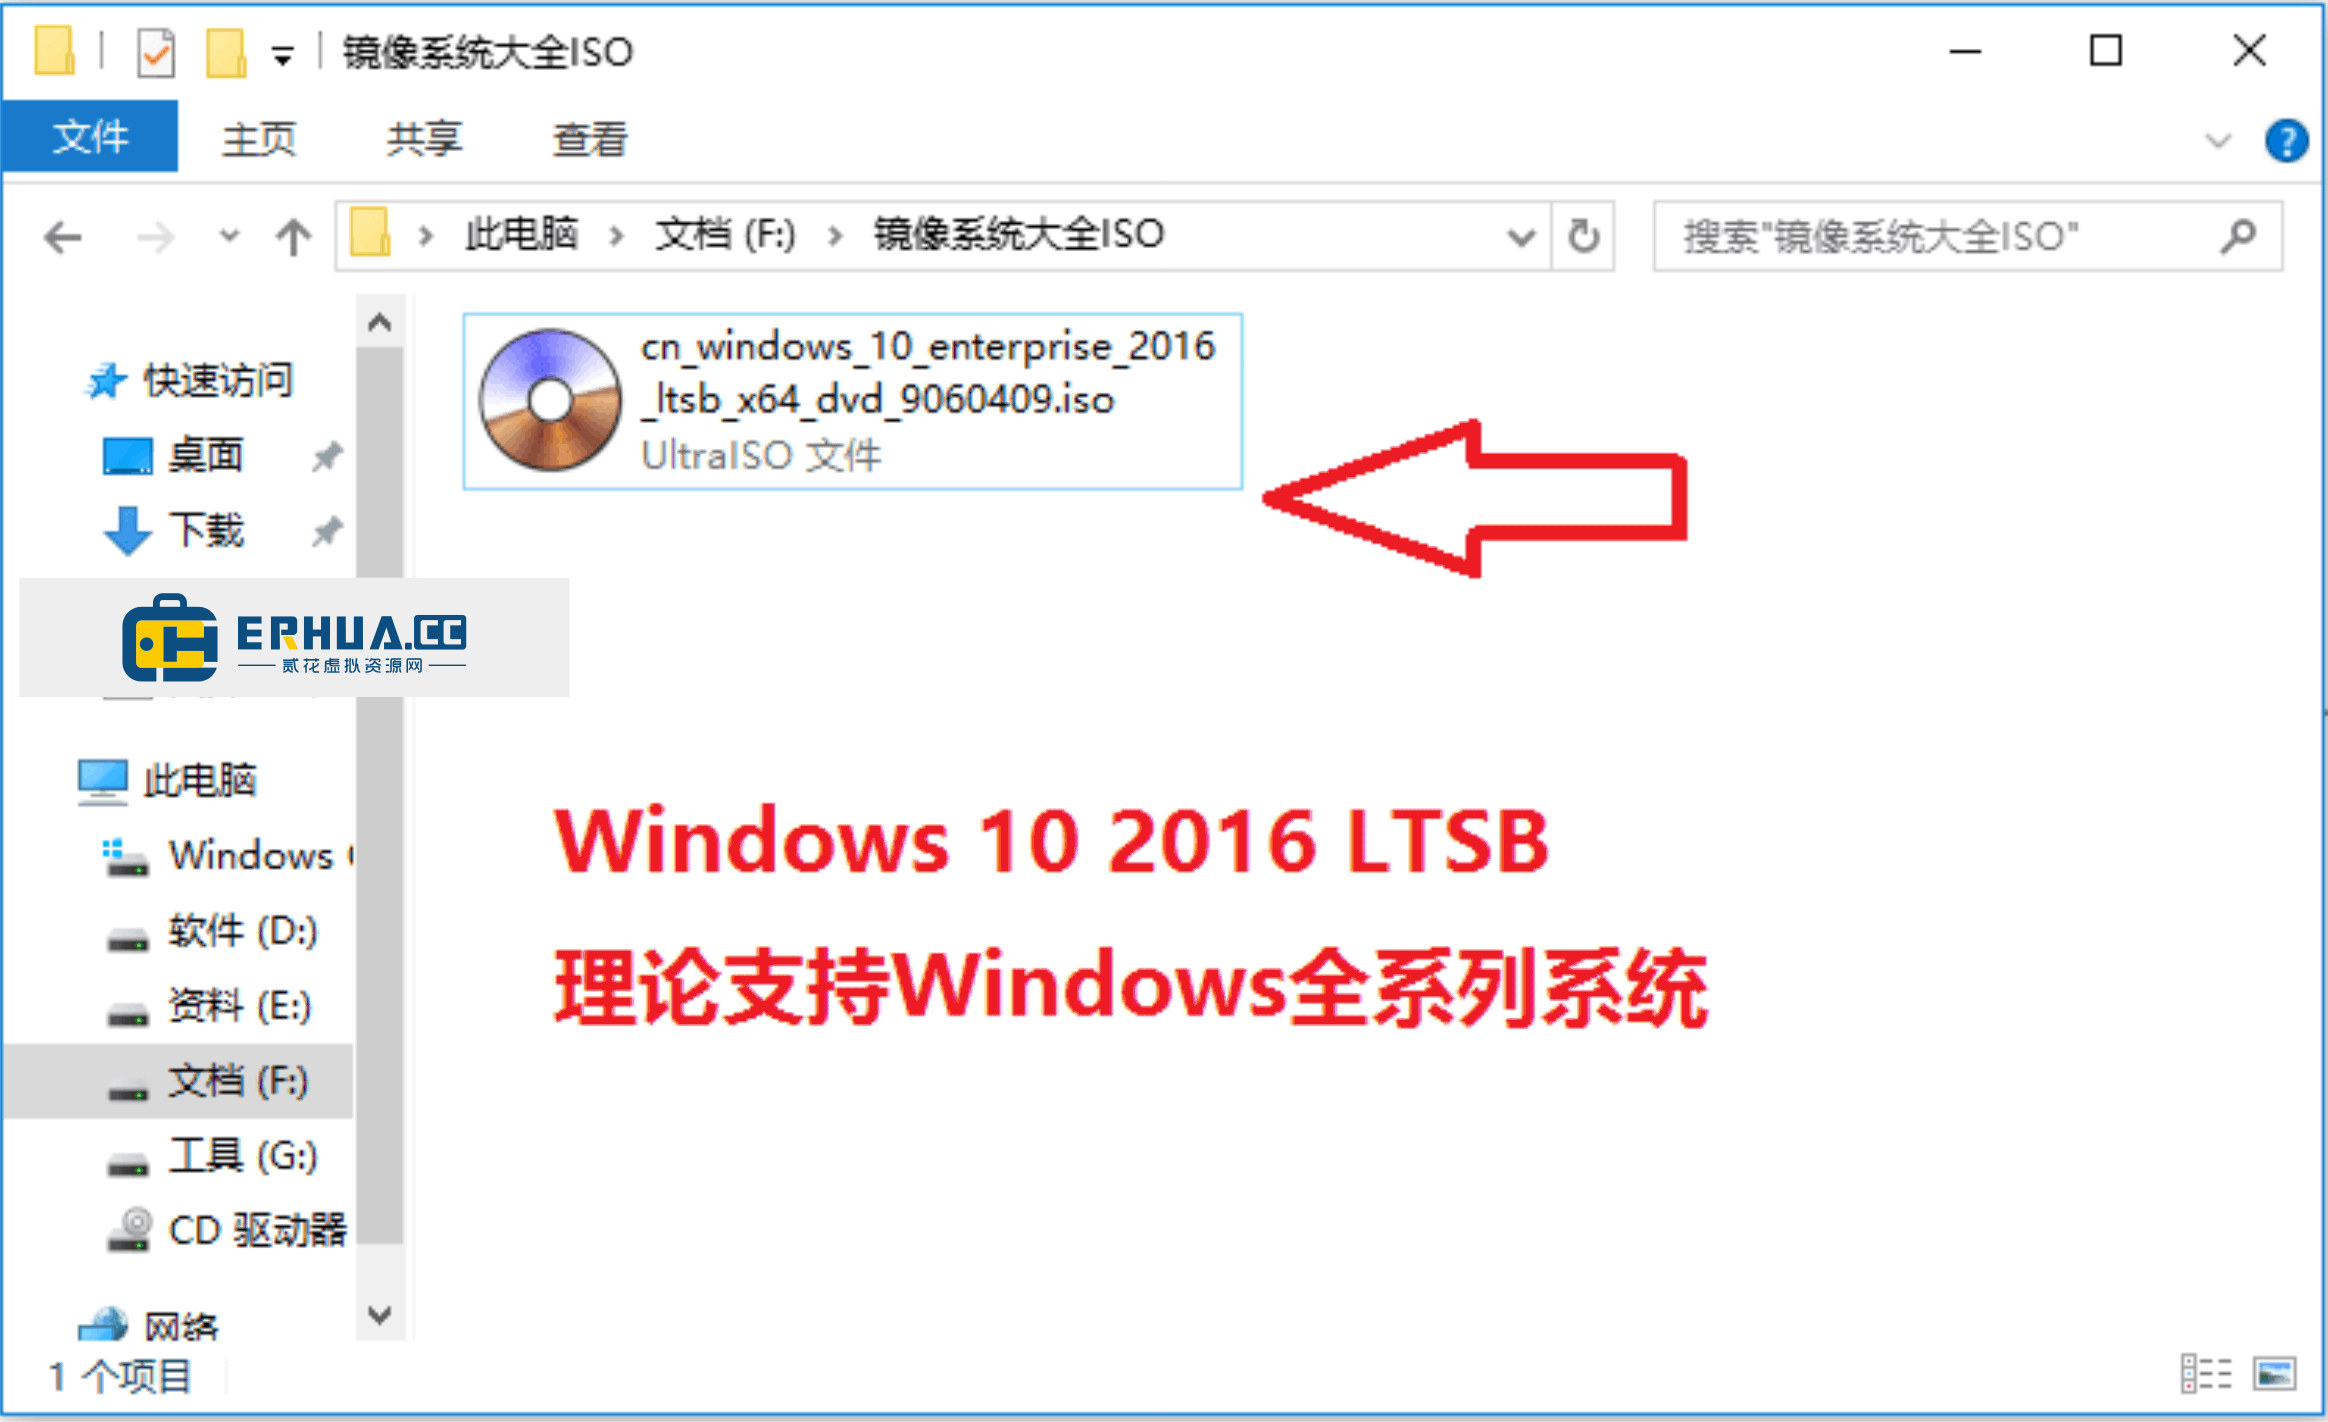
First, prepare an official Microsoft system ISO image. Here we use Windows 10 2016 LTSB (Long-Term Servicing Branch Enterprise) as an example:

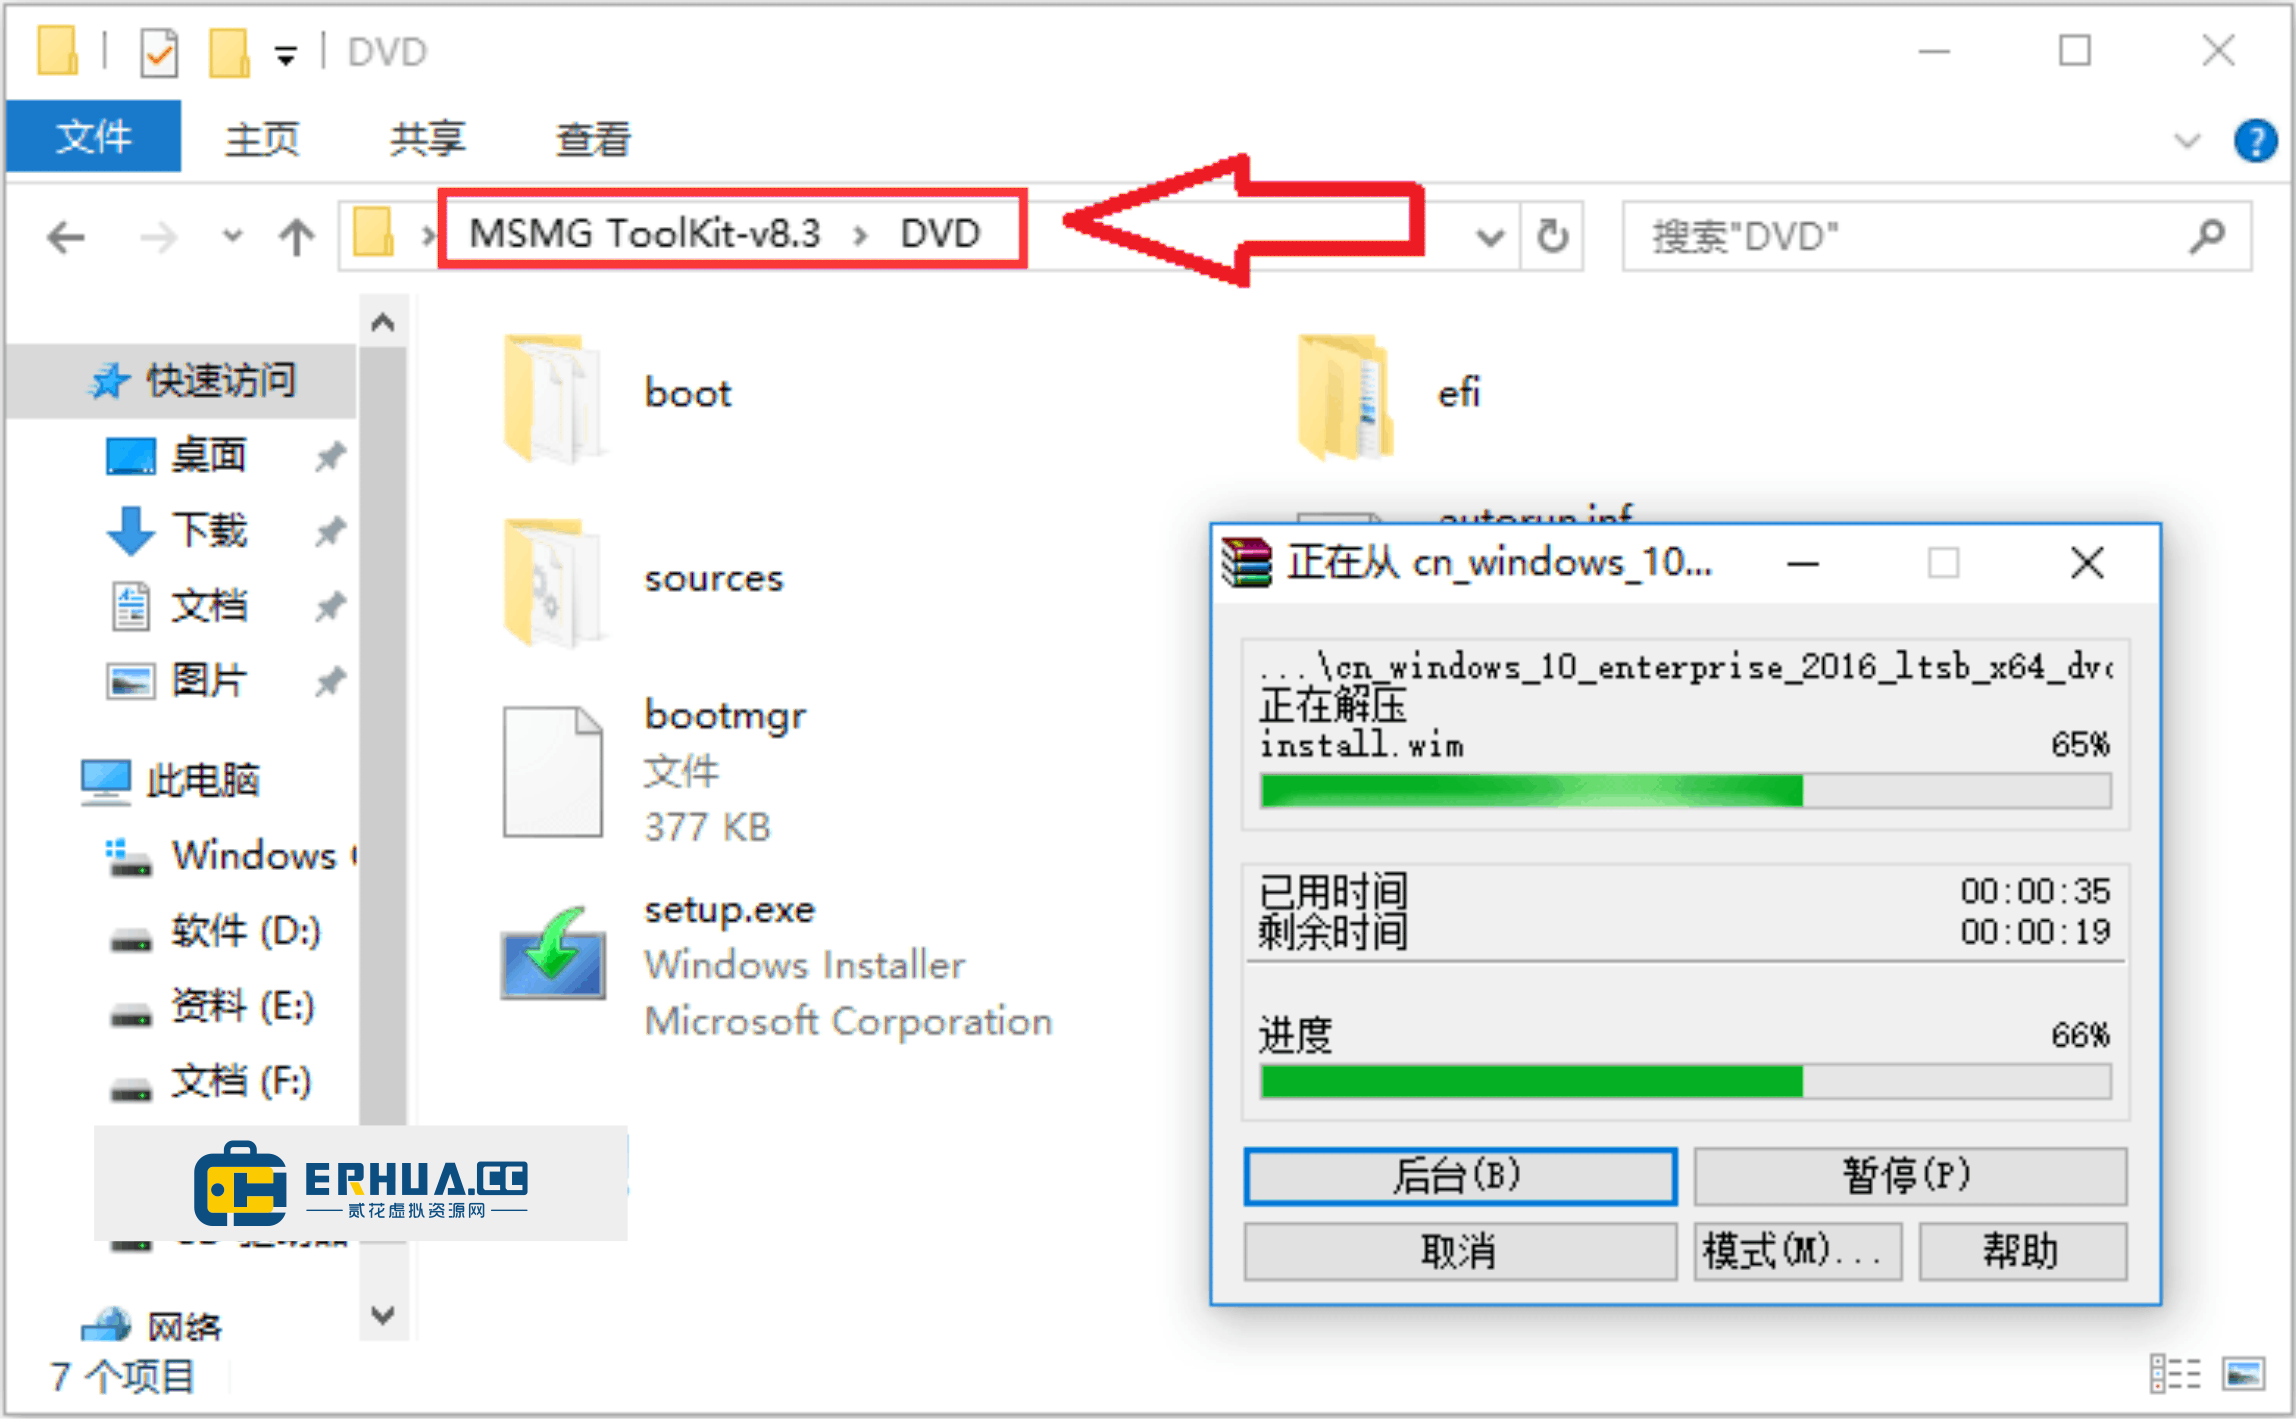
1. Extract the Windows 10 2016 LTSB ISO into the DVD folder inside the MSMG Toolkit directory.

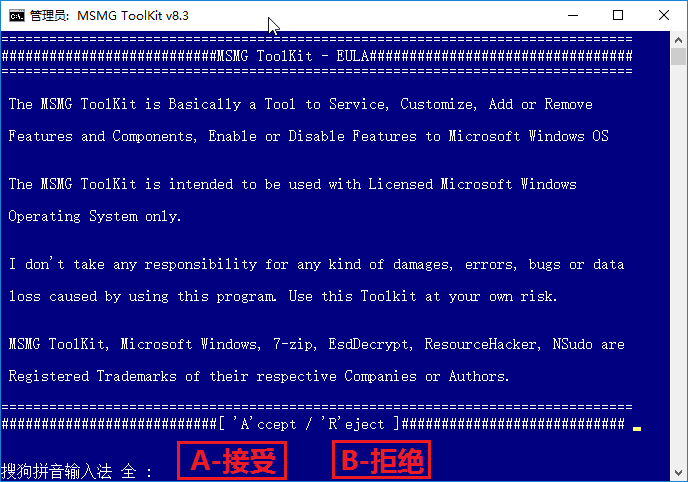
2. In the root folder of MSMG Toolkit, run ToolKit.cmd as administrator. When the license agreement appears, enter "A" to accept and continue, or "B" to decline and exit.

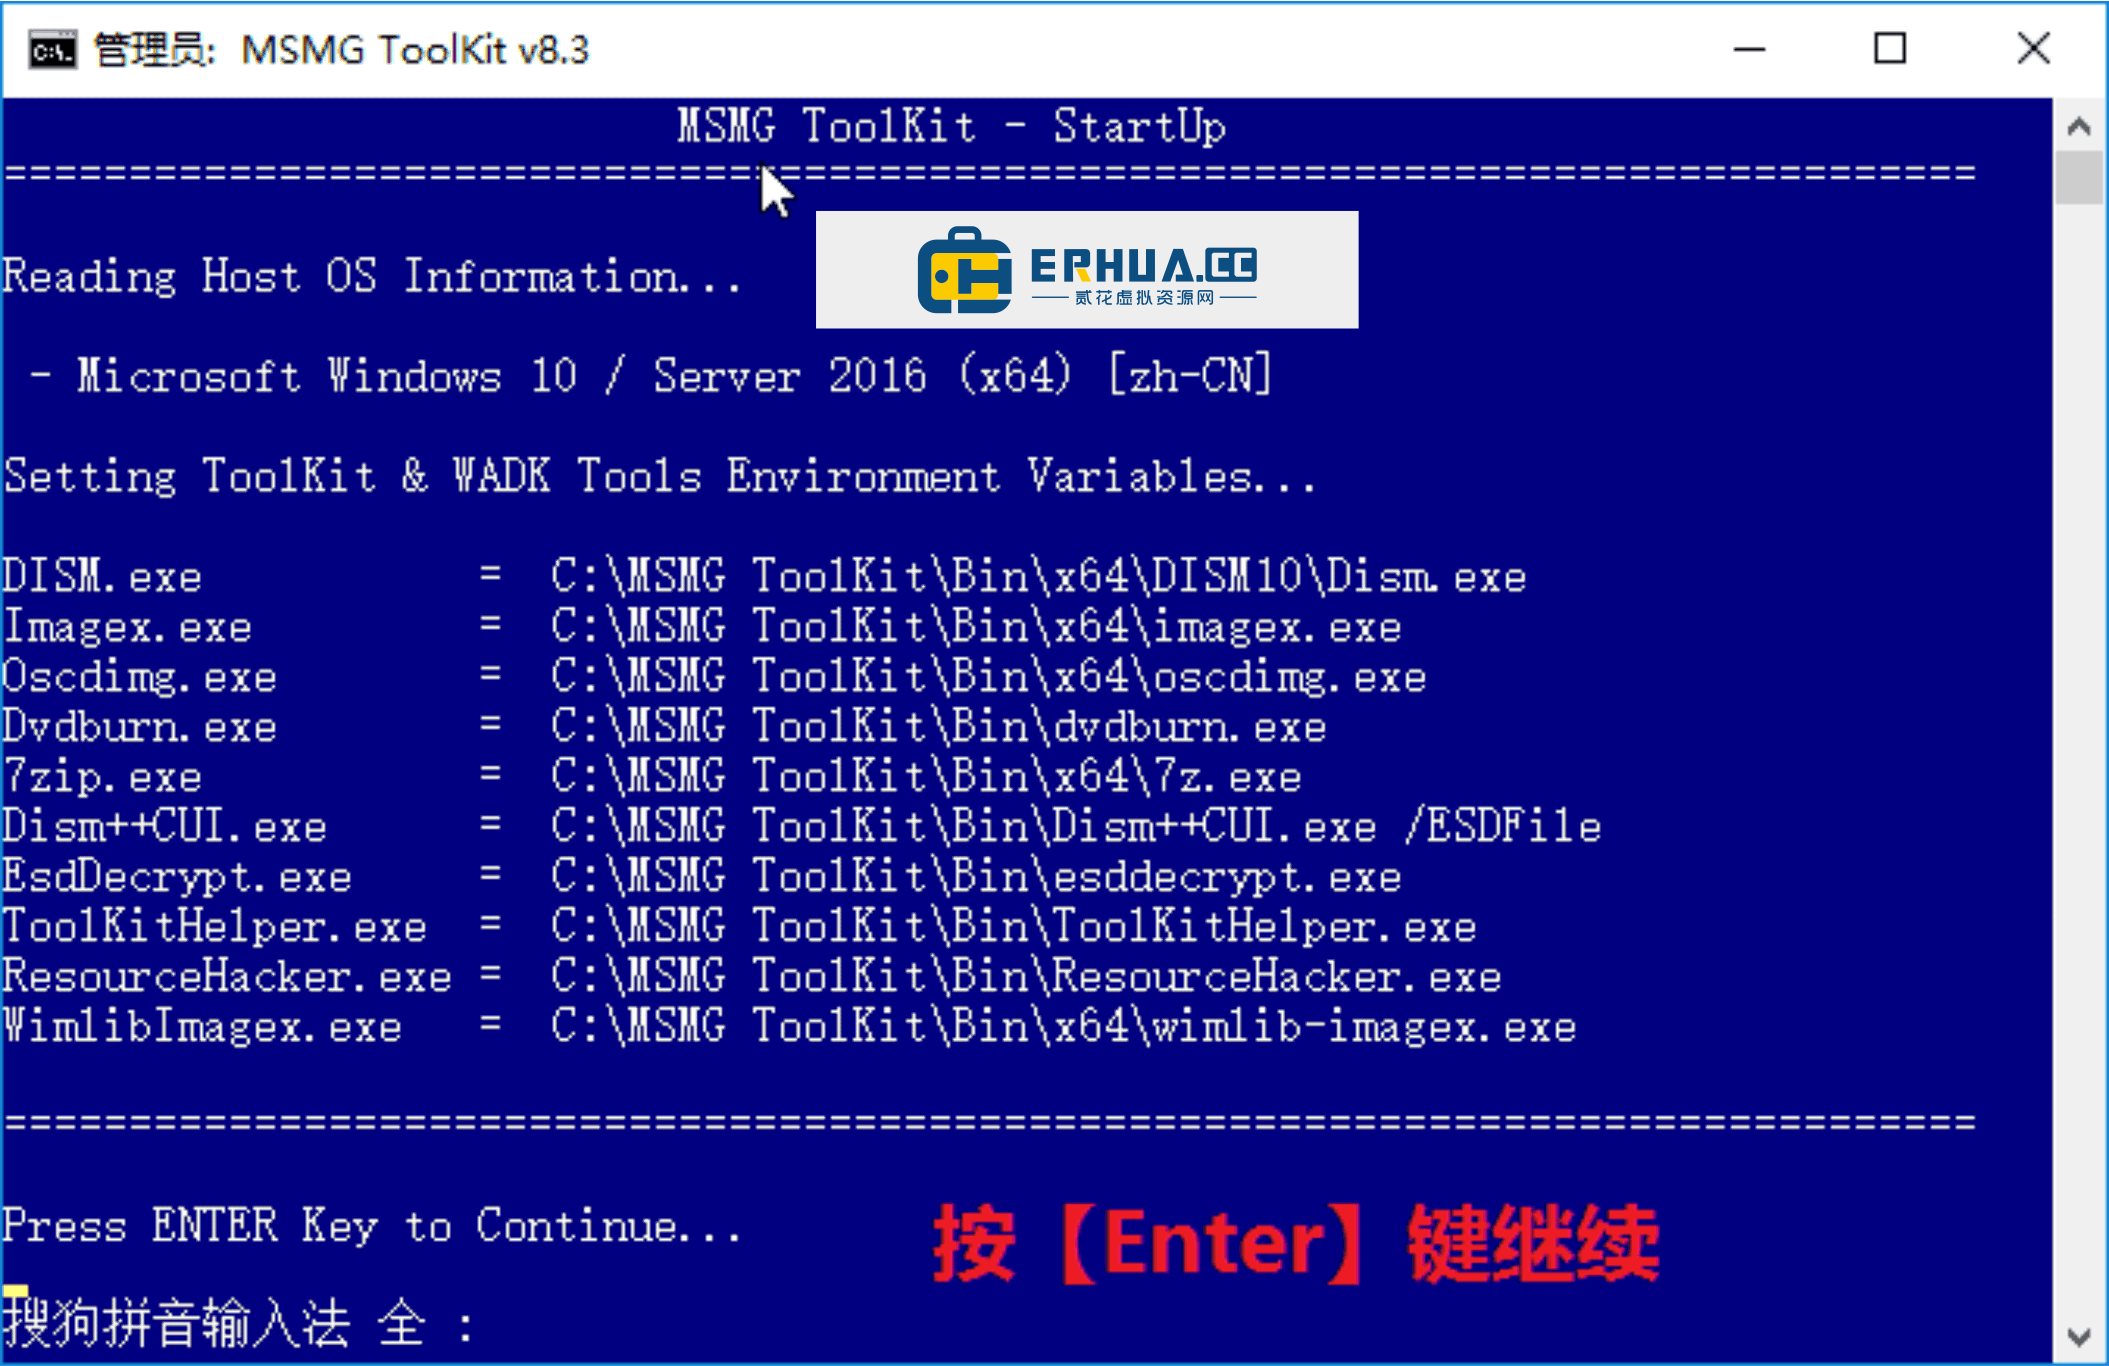
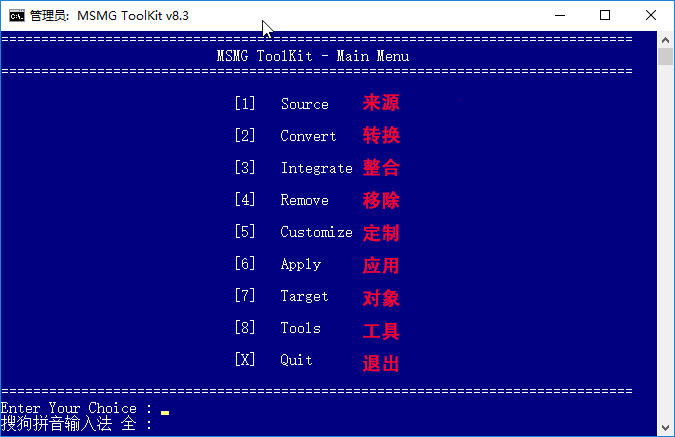
3. Once it shows "Reading image info Microsoft Windows 10 / Server 2016 (x64) [zh-CN]", press Enter to enter the MSMG Toolkit main menu.


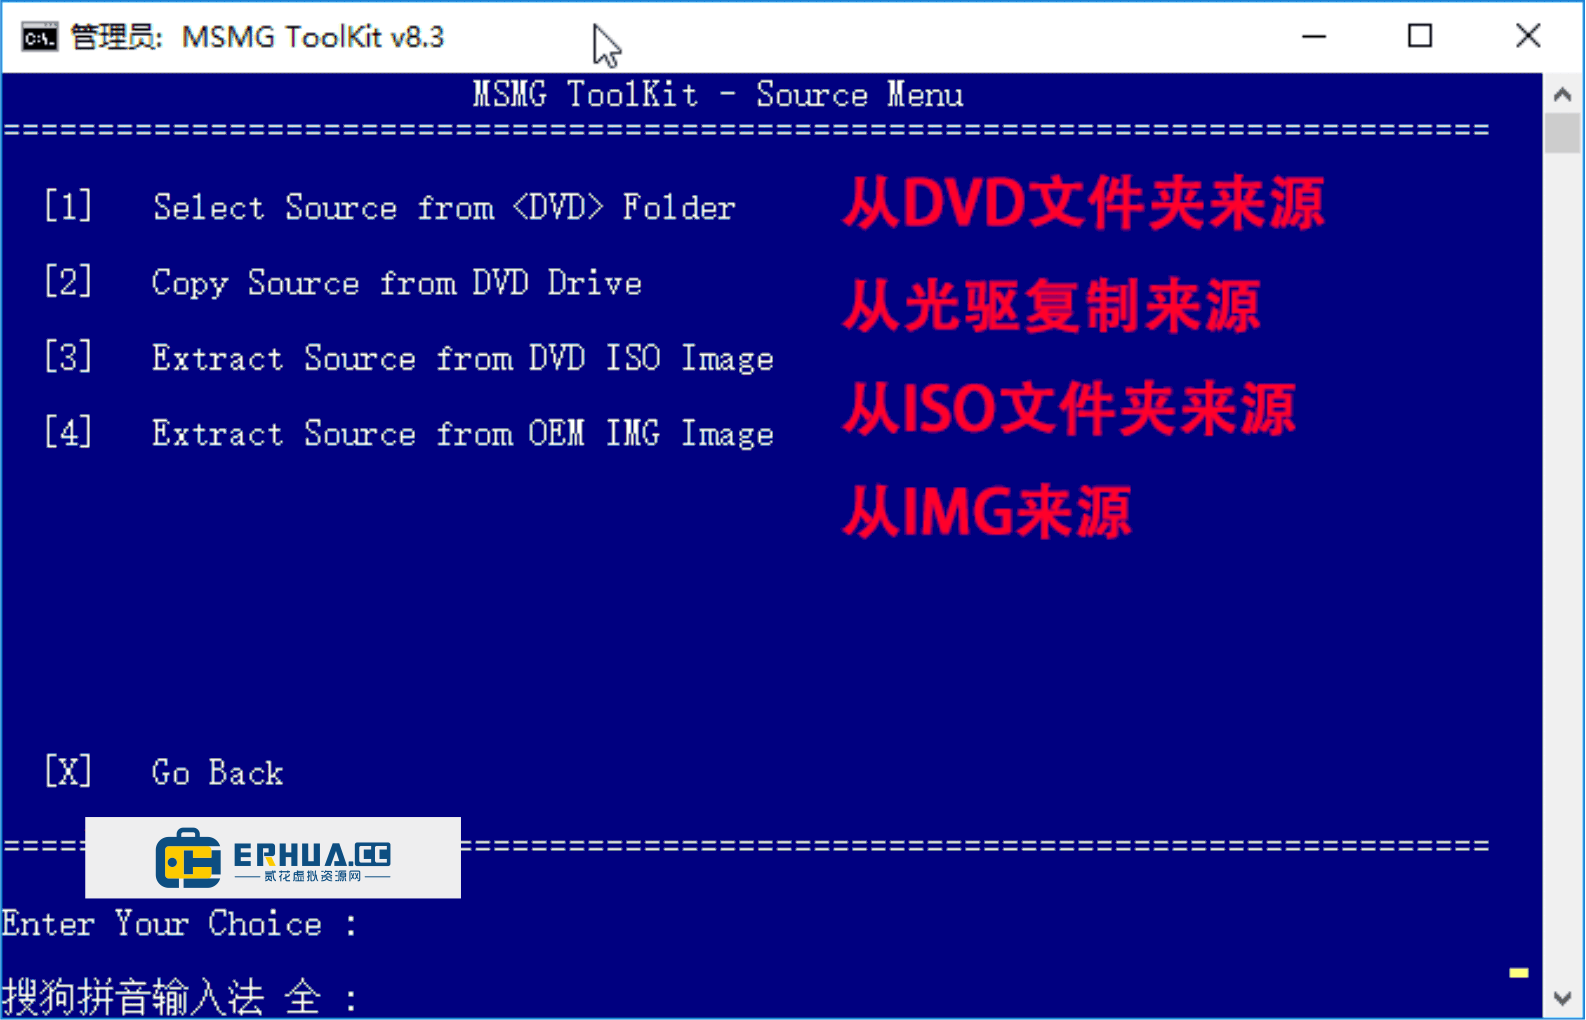
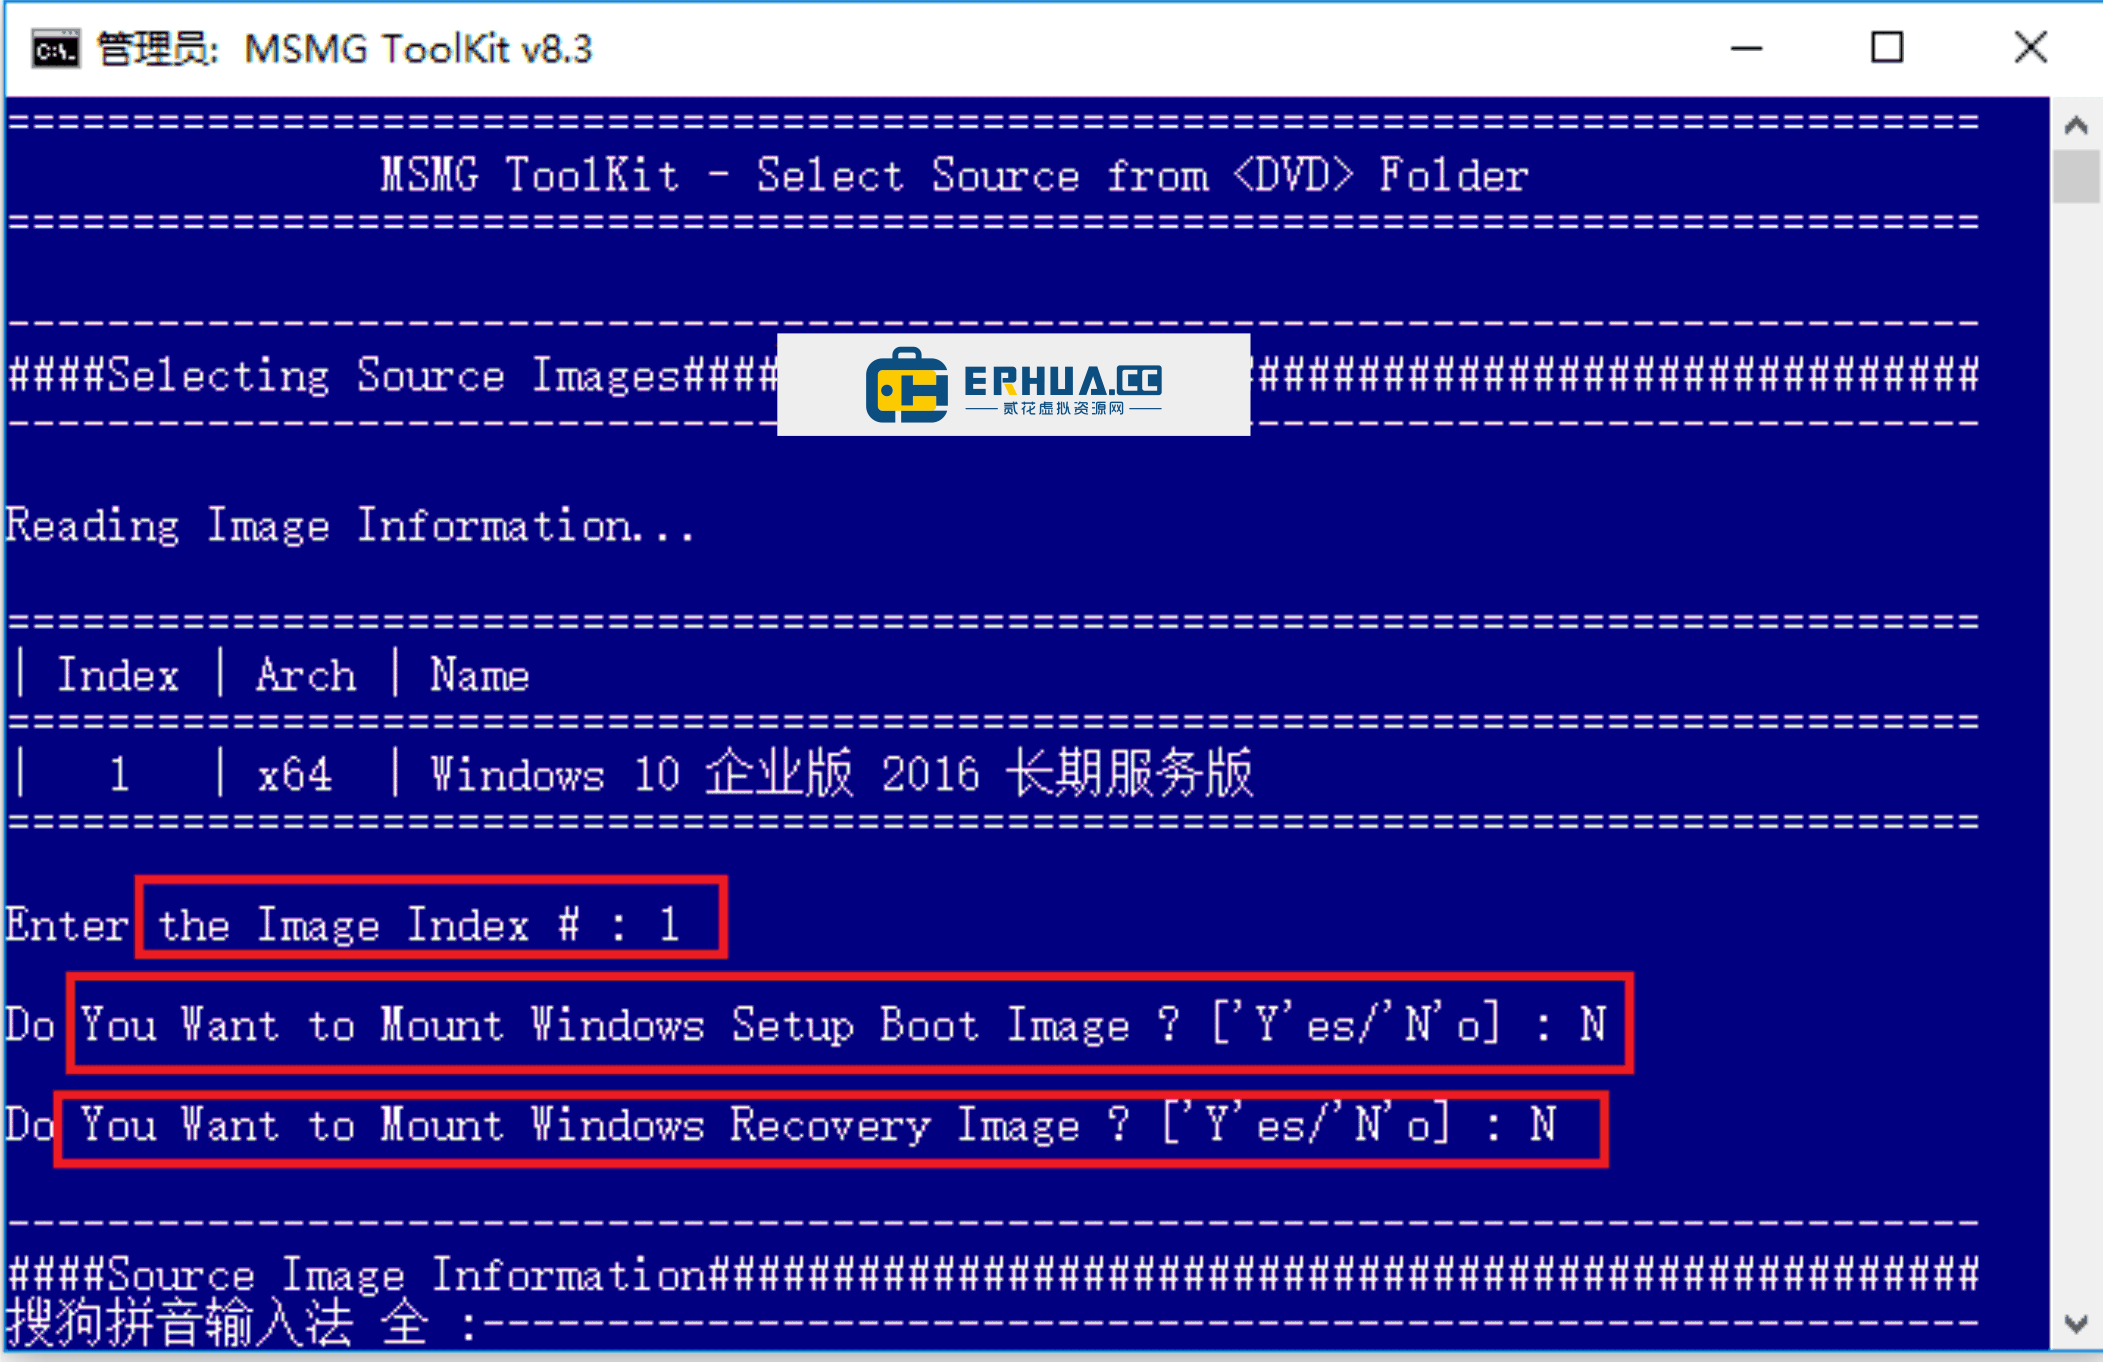
4. In the main menu, enter "1" to choose the source, then select the DVD source again. The different editions of the Windows 10 image with their details will be listed — pick the specific edition you want to process.

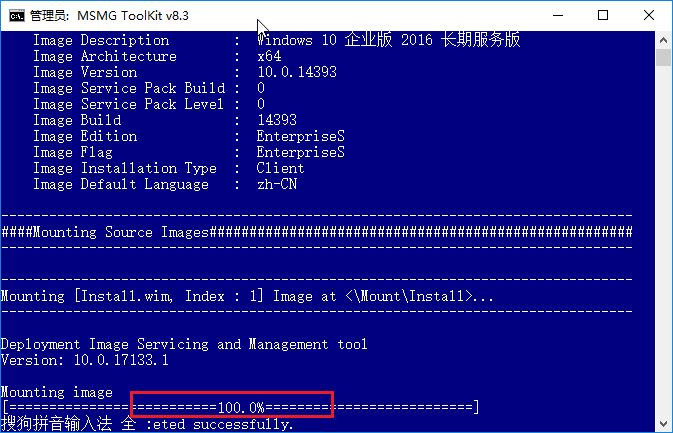
5. Next, the tool will auto-detect and display the loaded Windows 10 Enterprise 2016 LTSB edition. Choose "1"; when asked whether to mount the boot image, choose "N" to skip mounting.

6. After choosing not to mount the Windows Boot image and the Windows recovery image, the tool will start mounting the main Windows 10 image automatically. When mounting reaches 100%, the process is done.

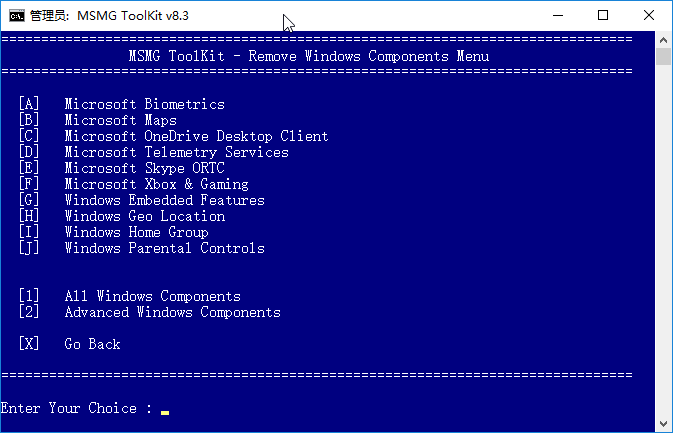
7. After mounting finishes, press any key to return to the main screen. Here you can remove system components as needed — for example Windows Apps, multimedia components, local system language files, hardware support and system components, as well as remote-control features and drivers. You can also remove Edge, Cortana and Windows Defender.

That covers the detailed MSMG Toolkit tutorial. The author mentions that, with limited English, the English UI is a bit hard to follow — fortunately MSMG Toolkit also offers a Chinese version, which makes things easier for Chinese users.
Note that when slimming the system with MSMG Toolkit, three components are not recommended for removal:
1. WindowsDesktopFileExplorerApp (the Windows desktop File Explorer app)
2. AdobeFlashForWindows (Adobe Flash for Windows)
3. WindowsManualSetupFeature (the system setup program)
Once slimming is done, save the changes to the image. To do this, return to the Toolkit main menu, open the "Apply" menu, and choose "Apply and Save Changes to the Source Image". After saving, return to the main menu again, open the "Target" menu, and choose "Make ISO Image". Next, enter the ISO volume label and the output file name. When it finishes and YPOJIE.iso appears, the ISO has been packed successfully. You can find your customized ISO in the Toolkit's ISO folder, ready to use or archive.
Related Courses
Super local toolbox! Built-in screen recording, audio/video cutting & merging, video compression & extraction, forever free - Kedou Video Converter
100% perfect free tool! One-stop multi-function PDF software: PDF convert, compress, edit etc., minimal, no ads, so nice - JOPDF

Open-Source Desktop Remote Tool, Beats Paid Versions! Free for Personal and Commercial Use Unlimited, Cross-Platform, HopToDesk Remote Control

Latest K-12 Textbook Downloader: Whole-Grade Resource Download, Courseware, Video, Audio in One Click

HuyanBao: free blue-light eye-care app with pet break reminders
Windows Can Have a Desktop Dynamic Island Too! A Modern System Control Center — Give Your PC a Black Notch, PyIsland

3D Simulated Comic Drama Production: Seedance2.0 Full-Process Practical Course - From Zero to One High-Quality Comic Drama Creation

Win/Mac Dual Support! Latest Permanent Lifetime Version, Supports Old Photo Restoration, Image Sharpening and Lossless Upscaling Tool, Aiarty Image Enhancer

Online Video Course: Github Open-Source Bilibili Video Download Tool! Supports 8K and Dolby Vision Bilibili Video Batch Download Tool, Easy to Use Bilidown