Categories
See All >
-
Solo Business Courses
-
 Others
-
Overseas Tutorials
-
Photography & Editing
-
Community & Private Domain
-
Self-Media Writing & Copywriting
-
Side Income Projects
-
E-commerce
-
Short Video & Live Streaming
-
Artificial Intelligence (AI)
-
Software & Tools
-
Operating Systems
-
Plugins & Scripts
-
MacOS Software
-
Android Software
-
Windows Software
AI API Relay Station Step-by-Step Setup: From Personal Tool to Monetized Service
📚Video Course
🕒Last updated: 05/10/2026
👥Entrepreneurs / Self-media creators / Cross-border e-commerce sellers / Side-hustlers
Study material — included with membership
Unlock Course with Membership
🔓
Get this course for reference study with membership
📦
Join membership — study all 16741 courses & software tools as reference
🔄
Courses keep updating — members study new material as it arrives
Share:
Top Selling Courses
-
Game Gold-Farming Money-Making Plan: Earn 1k+ Daily, a Stable 3-Year Project Anyone Can Do in Spare Time [Revealed]
Study material — included with membership Get Membership -
Hot-game fully-automated earning: 500+ a day, no experience, simple operation - the steadiest long-term game-earning side hustle (revealed)
Study material — included with membership Get Membership -
FlyingMouse earns merit this time! Don't panic at Windows format problems — the open-source FlyingMouse format conversion tool helps, a popular GitHub gem
Study material — included with membership Get Membership -
Douyin Product-Selling Coaching Bootcamp: No On-Camera Appearance Needed, Newbies Can Produce Selling Short Videos by Following the Steps
Study material — included with membership Get Membership -
First-release game gold-farming money plan: 1K+ a day, ordinary people in spare time
Study material — included with membership Get Membership






Top Selling Software Tools
-
FlyingMouse earns merit this time! Don't panic at Windows format problems — the open-source FlyingMouse format conversion tool helps, a popular GitHub gem
Study material — included with membership Get Membership -
LuDaShi v6.1024.4105.1121 Slim Single File
Study material — included with membership Get Membership -
2D Cartoon Animation Software Moho Pro v14.3
Study material — included with membership Get Membership -
Video Editor Aiseesoft Filmai v1.0.18
Study material — included with membership Get Membership -
To-Do Microsoft To Do v2.147 Free
Study material — included with membership Get Membership -
PR/AE/DaVinci/FCPX video Plugin Nobe OmniScope Win1.11.15 / Mac1.10.138
Study material — included with membership Get Membership

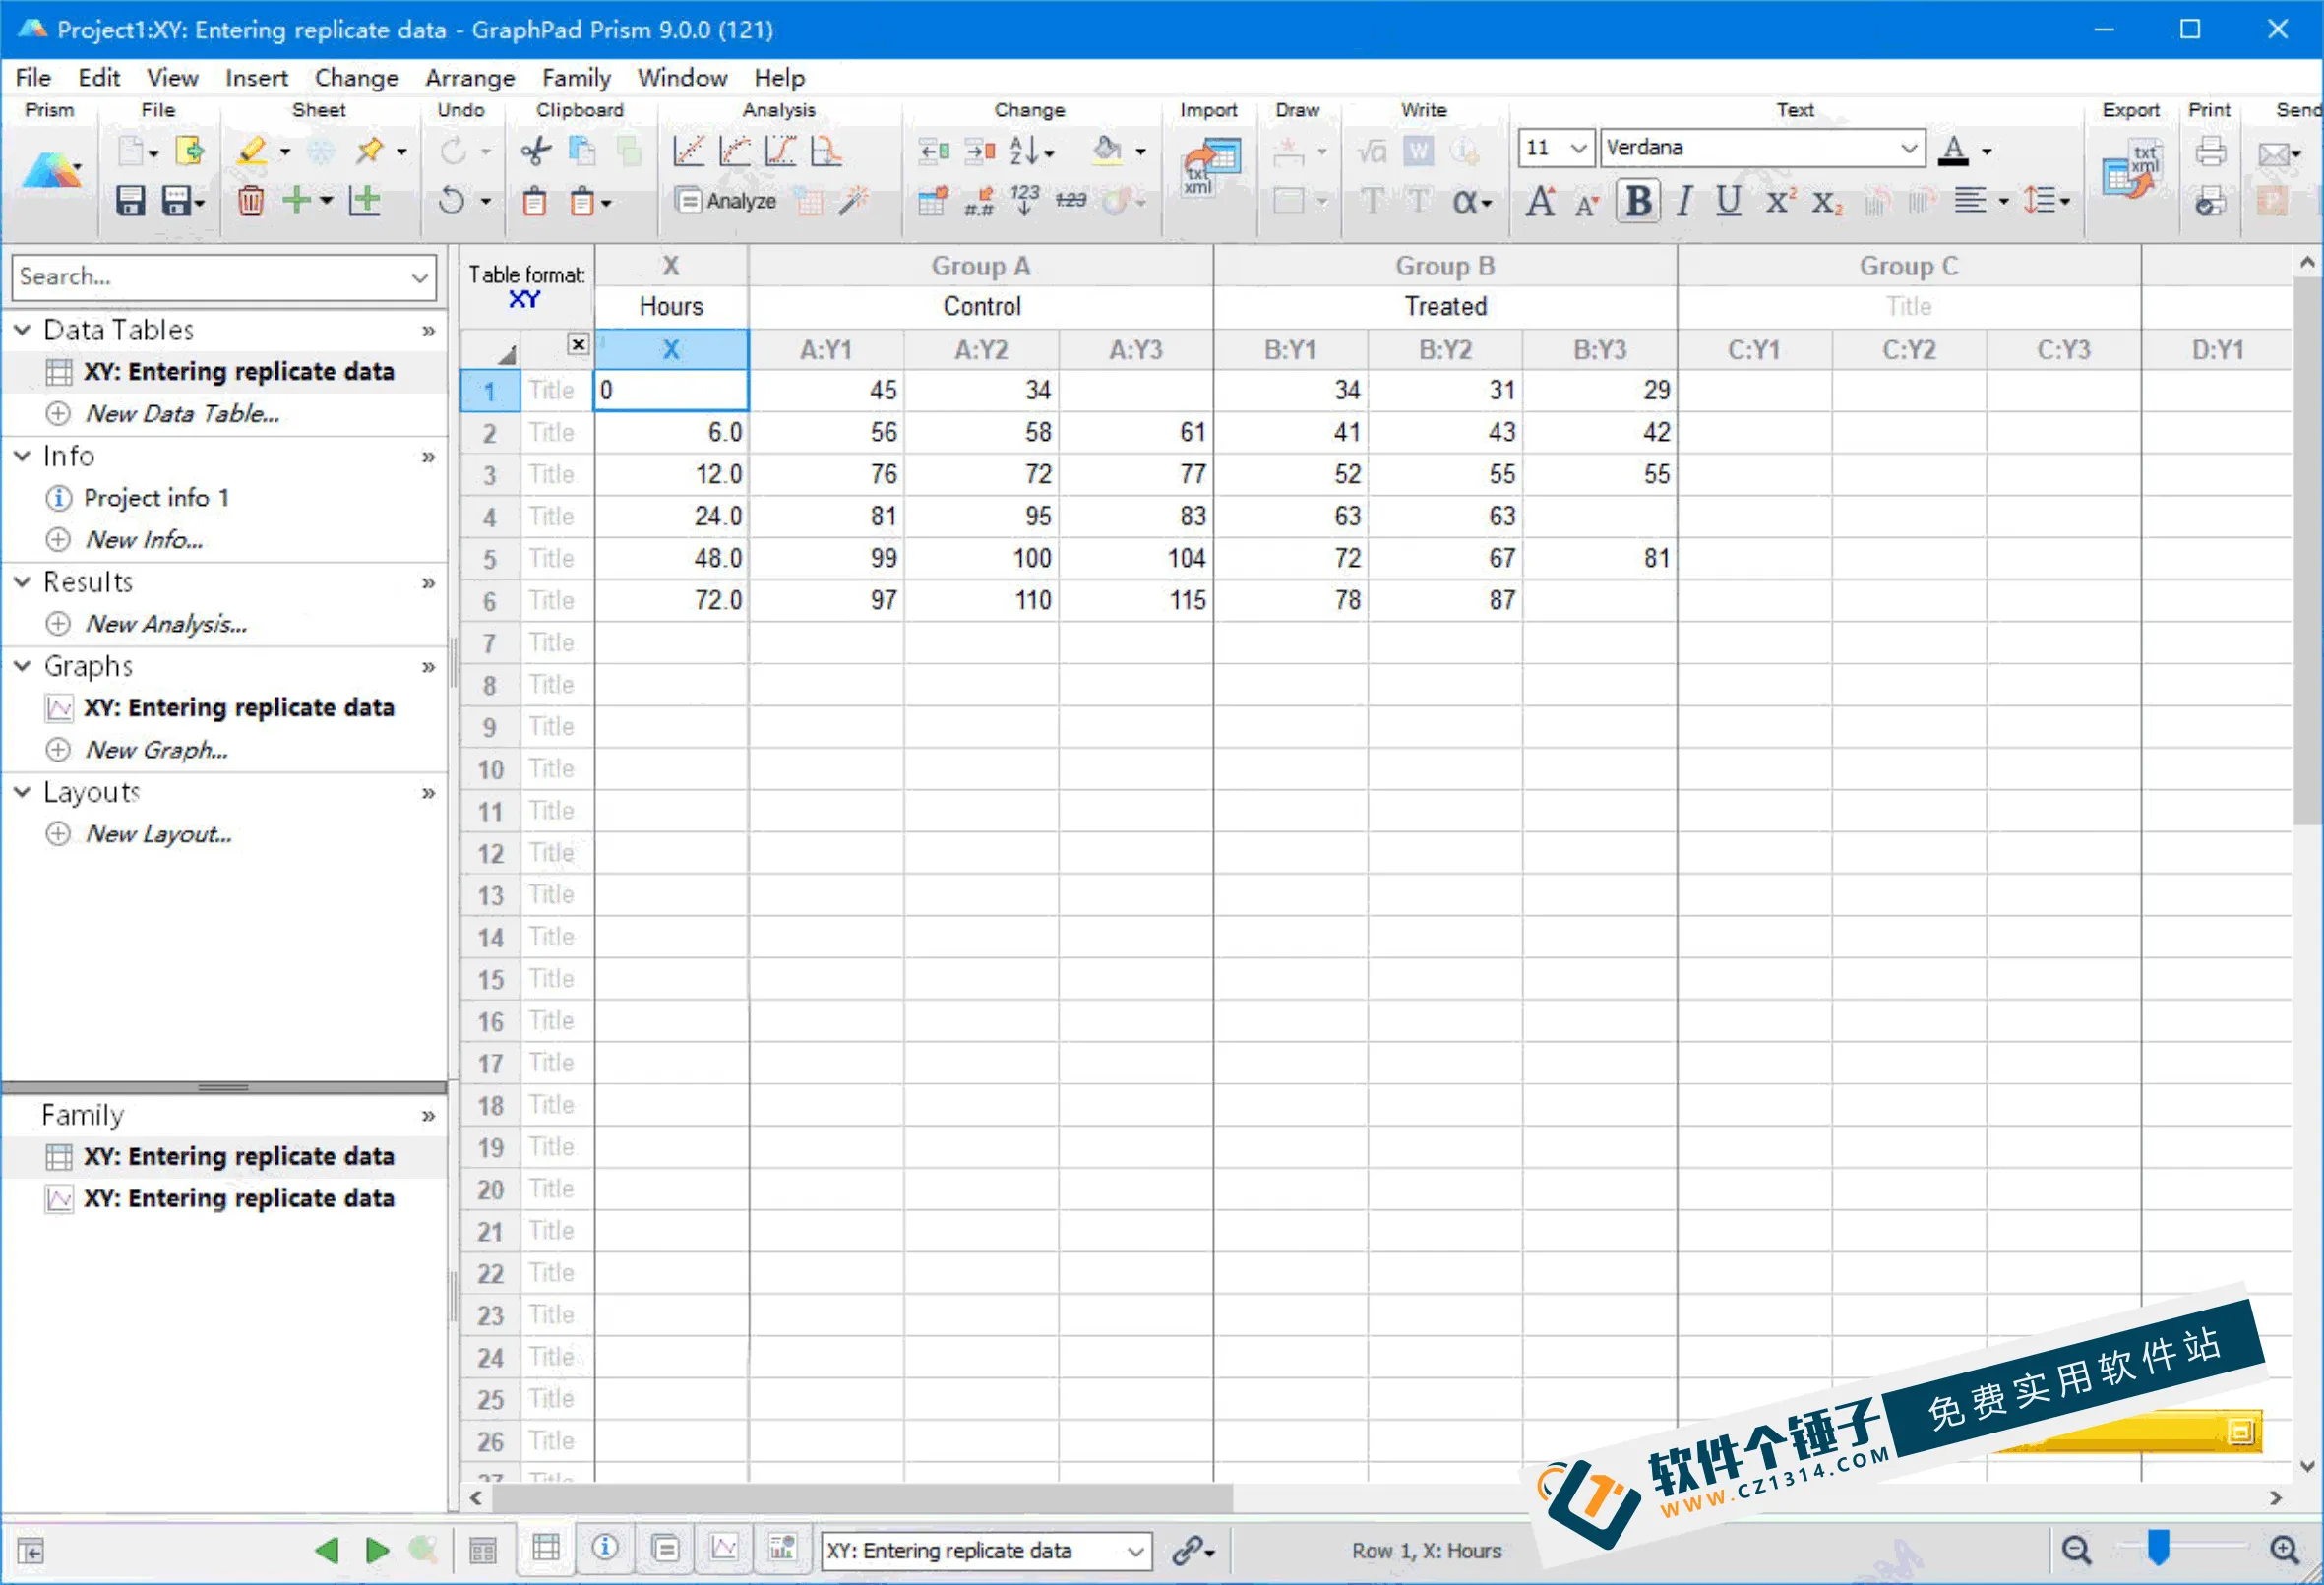
AI API Relay Station Step-by-Step Setup: From Personal Tool to Monetized Service
\ \Project Description: This article is compiled from a user-submitted (hook tutorial) and is for learning and information reference only. Online information is complex and scammers are everywhere; please think independently and judge carefully based on your own situation.
\
\
Published: 2026-05-10
\
\
\
\
Tutorial Core Content Summary
\Core Information Overview
\ \\
\
\
Project Essence
\This is a technical tutorial on building an AI API relay station based on the open-source project New-API. The core process involves purchasing an overseas server, deploying Docker containers, configuring upstream AI channels (such as OpenAI), and then reselling API credits to ordinary users at a higher price to earn the margin (volume difference or rate difference). Essentially, it is a side-business model that uses technical tools for API proxy distribution.
\\
Core Methods & Workflow
\- \
- Purchase an overseas server that supports trials (such as Japan/US/Hong Kong nodes; a 2-core 4GB configuration is recommended, with a one-click image preinstalled with the BT Panel) \
- Log in to the BT Panel, search for and one-click install the New-API project (official image) in the Docker app store, and open the external access port (default 3000) \
- Bind a custom domain through the BT Panel reverse proxy feature, with the backend pointing to local port 3000, to enable public access \
- Log in to the New-API admin panel (default admin/admin123), go to Channel Management, and add an upstream API channel (fill in the key, API address, and select the model group) \
- Configure it in System Settings > Group Model Pricing
Related Courses

Study material — included with membership
Get Membership
Family Comedy Short-Drama Creation Course: Benchmark Hot Accounts, AI-Assisted, Fast Start for Total Beginners, Grow Followers and Drive Product Sales

Study material — included with membership
Get Membership
Amazon AI Automation Practical Course: AI Operating Mindset, Setting Up the Codex Environment, Risk-Control Checks and Automated Listing Copy
Study material — included with membership
Get Membership
AI E-Commerce Data Tool Development Course: Learn Codex+BI From Zero, Build a Multi-Store Integrated Visualization Dashboard

Study material — included with membership
Get Membership
Advanced AI Prompt Application: 15 Lessons | Universal Instruction Thinking + Multiple Output Modes + Full Industry Commercial Cases
Study material — included with membership
Get Membership
AI Video Creation Crash Course: From Great-Case Breakdown to Five Core Modules, Fast-Track AI Video Skills for Total Beginners

Study material — included with membership
Get Membership
AI Commercial Practice System Course: In-Depth SD Mastery + Advanced Flux Hands-On + Comfyui Workflow Building, Full Commercial Design Project Training

Study material — included with membership
Get Membership
[National-Day Pick] AI Automation Game, 1k+ RMB a Day, Simple to Operate, Stable for Three Years! [Revealed]


China Projects — one person, one company. No team, no middlemen. Every model here is already proven in China. Join the membership, study it as reference, and launch it locally in your country.